1. File System
2. SQL Server job
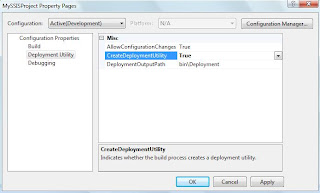
Just take properties of your project and go to Deployment Utility tab.

Set the "Create Deployment Utility" as "True" and specify the "Deployment Path".
As soon as you build your project deployment utility is created in the above specified folder with the package file. The file type of Deployment Utility is "Integration Services Deployment Manifest". The extension of the deployment package is "*.SSISDeploymentManifest".
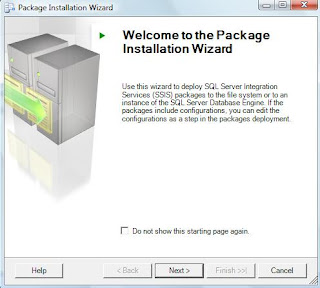
When you run this manifest file. The package deployment wizard is started which helps in deploying the package.

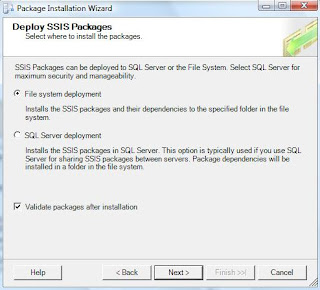
As discussed above, you can also specify the deployment destination for our SSIS package.

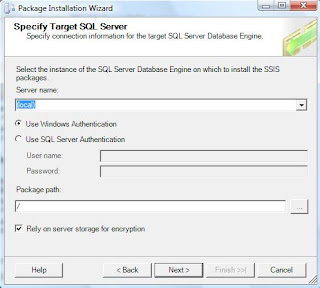
If you choose to install in the file system then you just have to specify the destination folder and start the wizard. If you choose otherwise and install in the SQL Server instance, then you have to specify the SQL Server instance in which we want to install this package.


No comments:
Post a Comment